Creating WAF Web ACL with CloudFormation
AWS WAF (Web Application Firewall) is a security service provided by AWS.
WAF consists of several services, but this time, as an introduction to WAF, we will create a Web ACL using CloudFormation.
For information on how to apply WAF to CloudFront, please see the following page
For information on how to apply WAF to API Gateway, please refer to the following page
For information on how to apply WAF to AppSync, please refer to the following page
Environment

Create a WAF Web ACL.
Since this is an introduction to WAF, we will use the AWS managed rules that are provided by default.
Apply the created Web ACL to ALB.
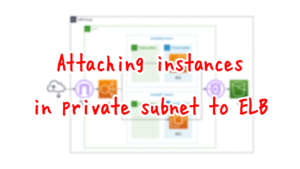
Attach an EC2 instance in a private subnet to the ALB.
The EC2 instance should be the latest version of Amazon Linux 2.
Install Apache on the EC2 instance, configure it to run as a web server and return its own instance ID.
Apache is installed from a yum repository built on S3.
CloudFormation template files
The above configuration is built using CloudFormation.
The CloudFormation template is located at the following URL
https://github.com/awstut-an-r/awstut-fa/tree/main/045
Explanation of key points of template files
This page focuses on WAF.
To learn how to attach EC2 in a private subnet to an ALB, please refer to the following page
For information on how to execute yum on EC2 in a private subnet, please refer to the following page.
WAF Web ACL
First, check the Web ACL itself.
Resources:
  WebACL:
    Type: AWS::WAFv2::WebACL
    Properties:
      DefaultAction:
        Allow: {}
      Name: !Ref Prefix
      Rules:
        - Name: !Sub "${ManagedRuleVendor}-${ManagedRuleName}"
          OverrideAction:
            None: {}
          Priority: 0
          Statement:
            ManagedRuleGroupStatement:
              Name: !Ref ManagedRuleName
              VendorName: !Ref ManagedRuleVendor
          VisibilityConfig:
            CloudWatchMetricsEnabled: true
            MetricName: !Sub "${ManagedRuleVendor}-${ManagedRuleName}"
            SampledRequestsEnabled: true
      Scope: REGIONAL
      VisibilityConfig:
        CloudWatchMetricsEnabled: true
        MetricName: !Ref Prefix
        SampledRequestsEnabled: true
Code language: YAML (yaml)
Check each setting.
The DefaultAction property is the setting for traffic that did not match the rule.
You can choose either “Allow” or “Block,” and you can customize the behavior of each action.
In this case, “Allow” is selected and no customization is performed.
Set the name of the Web ACL to be created in the Name property.
The Rules property is used to define the rules for allowing/blocking traffic.
In this case, we will use “AWS-AWSManagedRulesAmazonIpReputationList” from among the rules (groups) prepared from the beginning called AWS Managed Rules.
The OverrideAction property is an item that allows you to modify the action of the rule to be used.
Since we will not modify it this time, we will set an empty object to the None property.
The Priority property is an item related to the order of priority between rules.
The rules are numbered in order from 0, and the rule with the lowest number is evaluated first.
In this case, we will use a single managed rule, so we set it to “0”.
Set the rule itself to be used in the Statement property.
When using managed rules, use the ManagedRuleGroupStatement property.
Specify which managed rule to use in the Name and VendorName properties inside this property.
In this case, set “AWSManagedRulesAmazonIpReputationList” and “AWS” respectively.
VisibilityConfig is a setting related to CloudWatch and sampled traffic.
CloudWatchMetricsEnabled property allows you to set whether or not metrics collection by CloudWatch is required.
The SampledRequestsEnabled property allows you to set whether or not to collect traffic that matches the rule.
In this case, both properties are set to “true” to enable them.
This property exists for each rule and for the entire Web ACL. This time, both properties are set in the same way.
The Scope property is related to the resource to which the Web ACL is applied.
If the Web ACL is applied to CloudFront, it is set to “CLOUDFRONT”, and for other resources, it is set to “REGIONAL”.
Since this is an ALB, the latter is used in this case.
Associating Web ACL with Resource
Next, let’s check how to associate a Web ACL with an AWS resource.
Resources:
  WebACLAssociation:
    Type: AWS::WAFv2::WebACLAssociation
    Properties:
      ResourceArn: !Ref ALBArn
      WebACLArn: !GetAtt WebACL.Arn
Code language: YAML (yaml)
By creating an AWS::WAFv2::WebACLAssociation resource, you can associate a Web ACL with a resource.
Set the ARN of the target resource in the ResourceArn property.
In this case, Web ACL will be applied to ALB, so specify the ARN of ALB.
Set the Web ACL to be applied in the WebACLArn property.
Specify the ARN of the Web ACL you defined earlier.
Architecting
Use CloudFormation to build this environment and check the actual behavior.
Create CloudFormation stacks and check the resources in stacks
Create a CloudFormation stack.
For information on how to create stacks and check each stack, please refer to the following page

After checking the resources in each stack, information on the main resources created this time is as follows
- EC2 instance ID: i-0cdb269f94e8255b2
- ALB name: fa-045-ALB
- ALB URL: http://fa-045-alb-48262996.ap-northeast-1.elb.amazonaws.com/
From the AWS Management Console, check the WAF.
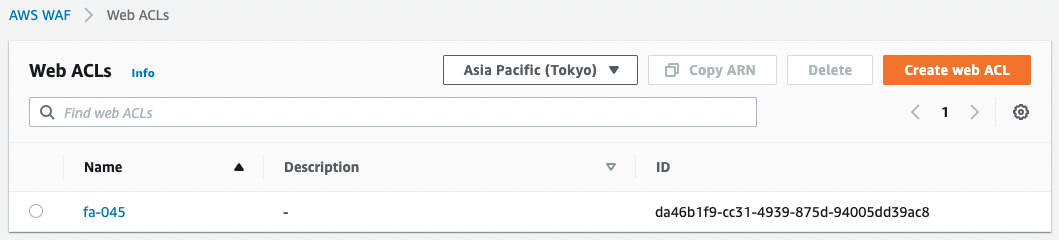
A Web ACL has indeed been created.
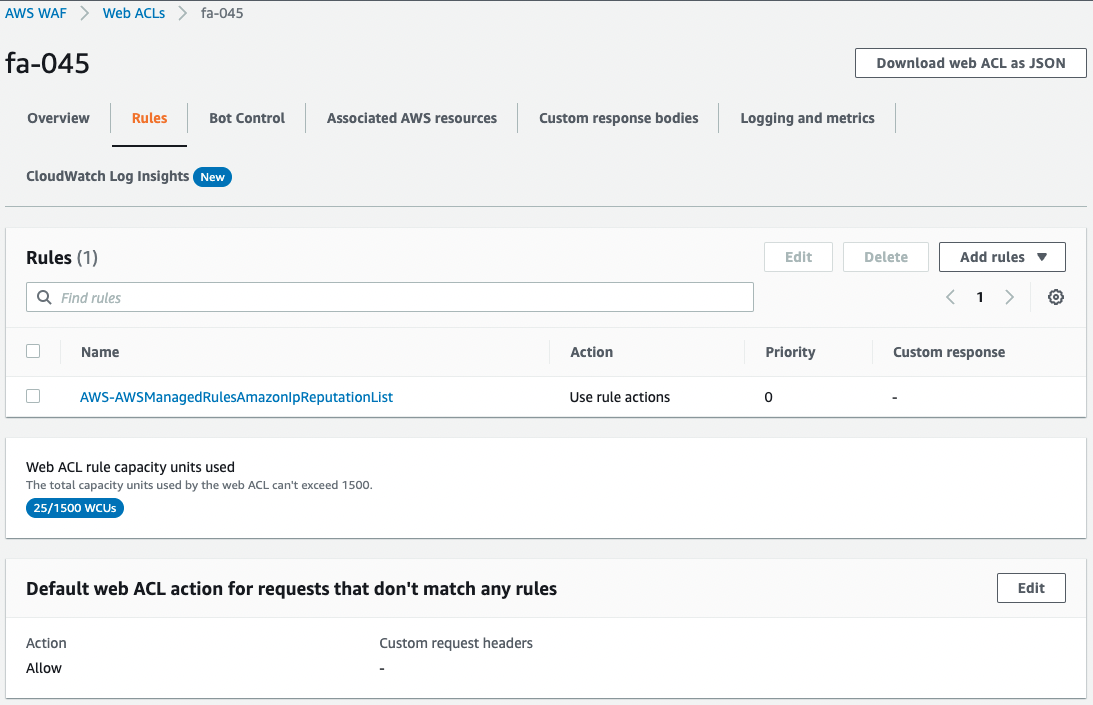
The rule contains AWS-AWSManagedRulesAmazonIpReputationList and the response to traffic that did not match the rule is set to Allow.
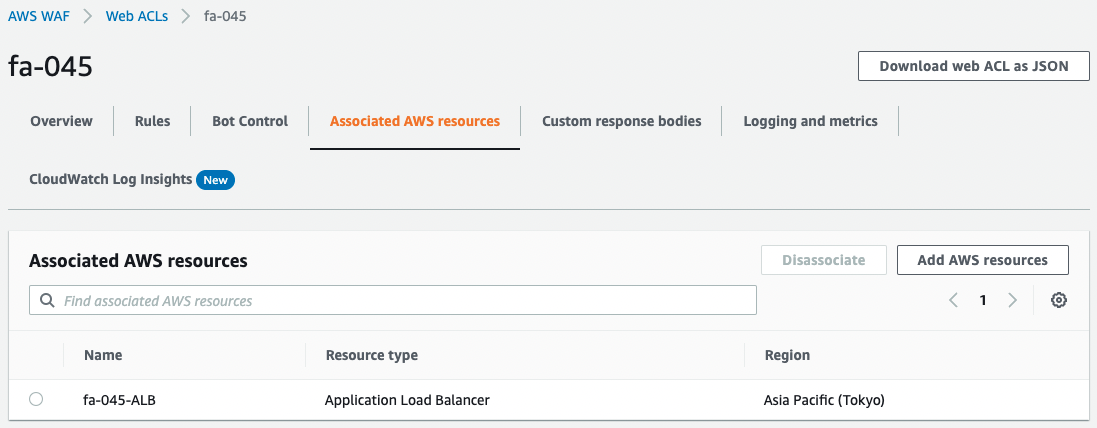
This Web ACL is applied to ALB.
Checking Operation
Now that everything is ready, access the ALB.

The ALB is successfully accessed.
It means that the Web ACL filter was passed.
Check the CloudWatch metrics and sampled traffic information from the console screen.
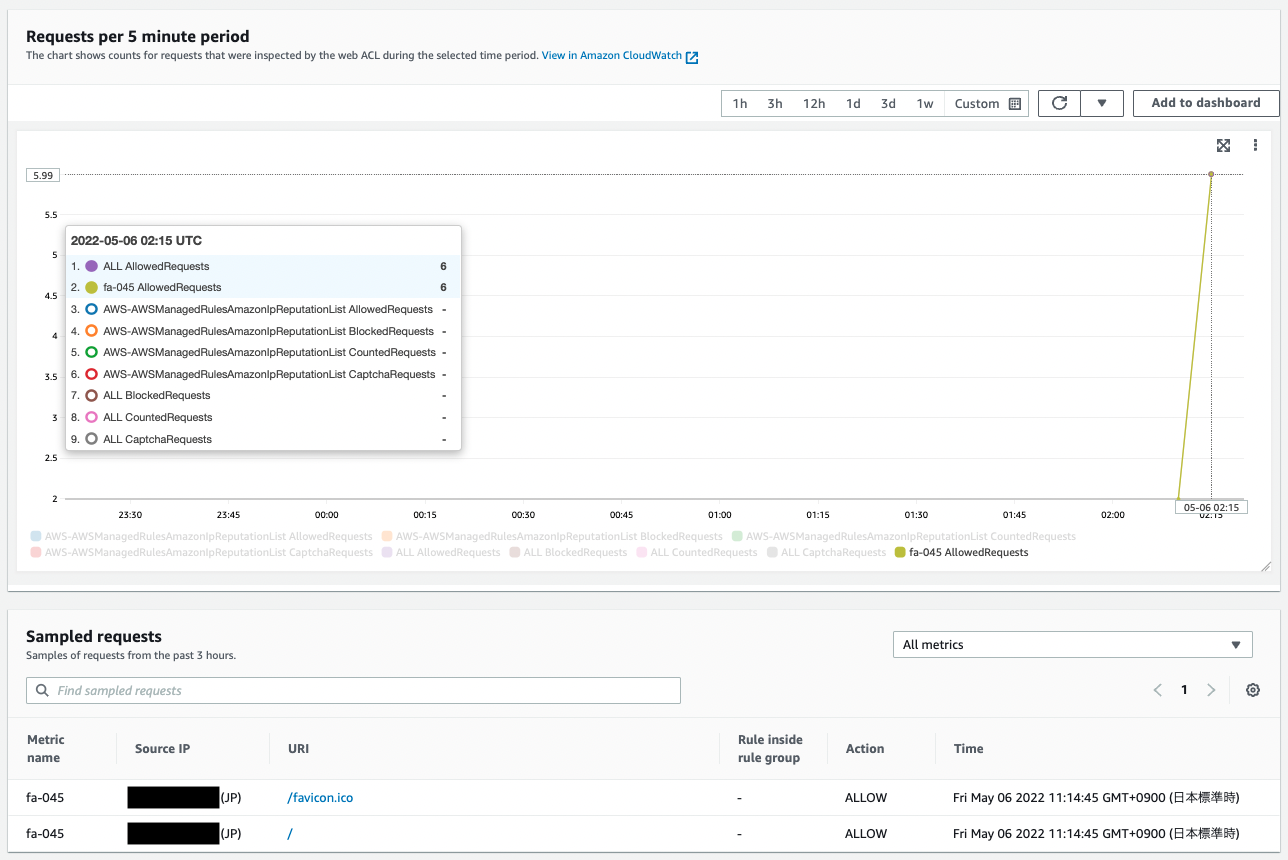
You can see the data collected in response to the previous access.
Looking at the CloudWatch Metrics figure, the “ALL AllowRequests” and “fa-045 AllowedRequest” values are counted since they were not blocked by the rules we prepared.
Looking at the sampled requests, we can see that information about the access (source address, allowed/blocked, communication date and time) is collected as described earlier.
Summary
As an introduction to WAF, we created a Web ACL using CloudFormation and confirmed its actual behavior.